Firstly, lime plaster has been used for centuries to protect and beautify buildings. Secondly, there are many reasons why lime plaster is a superior choice for wall finishes. It is breathable, durable and beautiful. In this blog post, we will discuss the many benefits of lime plaster and show you how to apply it yourself!
What is Lime Plaster?
Dating back to 7200BC, lime plaster is a simple mix of sand, water and limestone. There are, however, many different types of lime that all mean the same thing. When referring to lime as a construction material it can be very confusing for consumers. Lime plaster is usually non-hydraulic. Non-hydraulic is a slow-setting lime which hardens through carbon dioxide exposure.
Our products can often be used as both a lime plaster or render due to lime putty being durable.
Benefits of Lime Plaster Mix
Lime plaster has so many great benefits.
- Attractive: Natural, soft finish perfect for those looking for a rustic design in their home.
- Eco Friendly: Lime plaster is carbon neutral. Simply put, the amount of carbon dioxide it uses to create lime plaster is equal to the amount lime plaster will absorb during the drying process.
- Breathable: Lime plaster isn’t as dense as cement. This means air is able to pass through and act as a natural dehumidifier. Moisture can escape meaning the structure isn’t affected by dampness and mould.
- Flexible: As the weather goes from hot to cold, buildings will expand and contract. Unlike cement, lime plaster is durable enough to not crack under these harsh conditions.
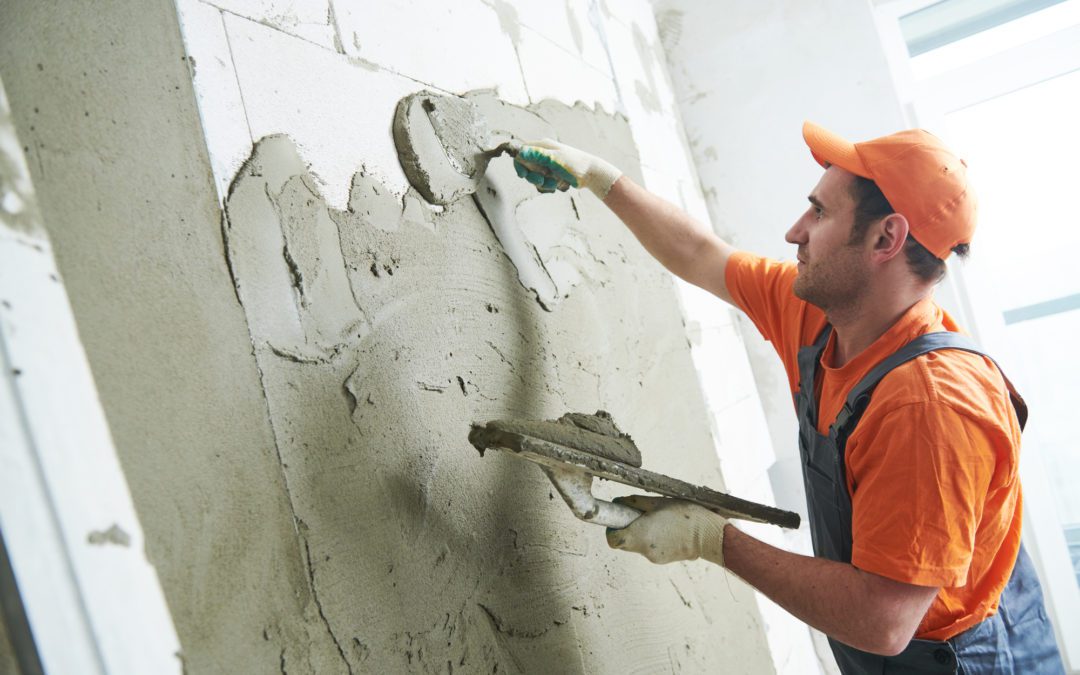
How to Lime Plaster Your Walls
It can be tough to lime plaster walls that haven’t been prepared properly. Please ensure all walls are prepared and dust or lose rubble is removed. You may require a carrier system of laths, or carrier boards, this will affect the thickness of coats.
Lime Plaster Mix: Coat 1
Known as the scratch coat, this is the first layer when applying lime plaster to exposed masonry. We suggest the layer to be around 10mm thick and then scratched through to give it a rough finish. The scratched finish acts as a good key for the next coat and takes around 10 days to set.
Lime Plaster Mix: Coat 2
Secondly, the float coat. This coat is equally coarse and again applied in a 10mm thickness, however, smoothed much flatter. Scratch lightly in preparation for the final coat and leave to set for a further 10 days.
Lime Plaster Mix: Coat 3
Third and final, the finish coat. Also known as the skim coat, this is a smoother aggregate and purely for a decorative aesthetic. Skim just 3mm of this coat and wait 3 days for the finish to set if you are looking to apply a breathable paint finish.
This whole process will take a minimum of 24 days, however, be prepared to wait longer between coats if necessary.
About EcoRight
EcoRight supplies mortars, plasters and renders throughout the UK construction industry. EcoRight products and services are equally suitable for large scale construction projects or local craftsmen working on individual or small projects. EcoRight’s expert team, who have over 100 years combined experience in lime based building products and conservation work, can also provide technical design support, prepare NBS specifications and provide CPD presentations.
Give us a call on 0845 873 3888 or email us at info@ecoright.co.uk and work with one of the UKs leading suppliers.